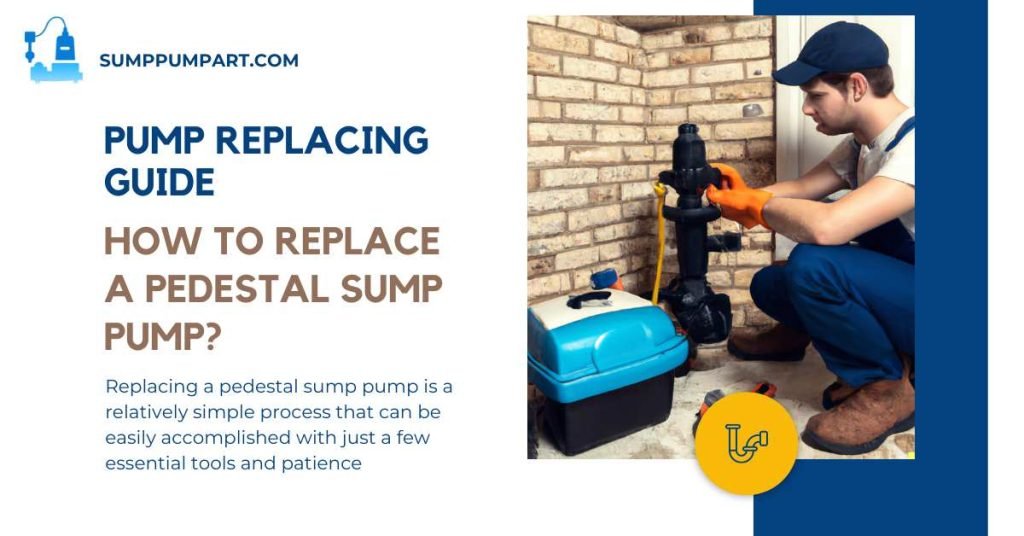
If you want to know how to replace a pedestal sump pump, you have come to the right place. Like all mechanical equipment, Pedestal sump pumps are subject to wear and tear over time, necessitating replacement to ensure optimal functionality.
However, replacing a pedestal sump pump is a relatively simple process that can be easily accomplished with just a few essential tools and patience.
We’ll cover everything from shutting off the power to ensuring the new system works properly. First, you must shut off the power to the pedestal sump pump.
If your pump is hardwired, this will mean flipping the circuit breaker. You can replace your pedestal sump pump in a few steps, which we will explain in detail.
This guide will give you all the details on what tools and materials you need, walk you through every step of the process, and provide helpful tips and tricks to make the job go more smoothly.
When You finish this guide, you will learn how to replace a pedestal sump pump with a submersible or any other sump pump – ensuring that your home stays safe from water damage for years.
Contents
How to Replace a Pedestal Sump Pump:
Turn off the Power:
The first step is to find the electrical outlet or circuit breaker that controls the sump pump and turn off its power. If you’re unsure which circuit breaker controls the pump, it’s best to shut off your home’s main power supply just to be safe. Before doing anything else, test the power supply with a voltage tester to ensure it’s turned off.
Also Read: Check to Know the Pedestal Sump Pumps Function.
Disconnect Discharge Pipe:
If you need to disconnect the discharge pipe from the pump, use a screwdriver, pliers, or wrench to loosen whichever type of clamp or union holds it in place. And if the line happens to be glued or soldered onto the pump, use a hacksaw or PVC pipe cutter to make a clean break.
Just beware not to damage the discharge pipe or the connection point where it meets the pump.
Remove the Old Pump:
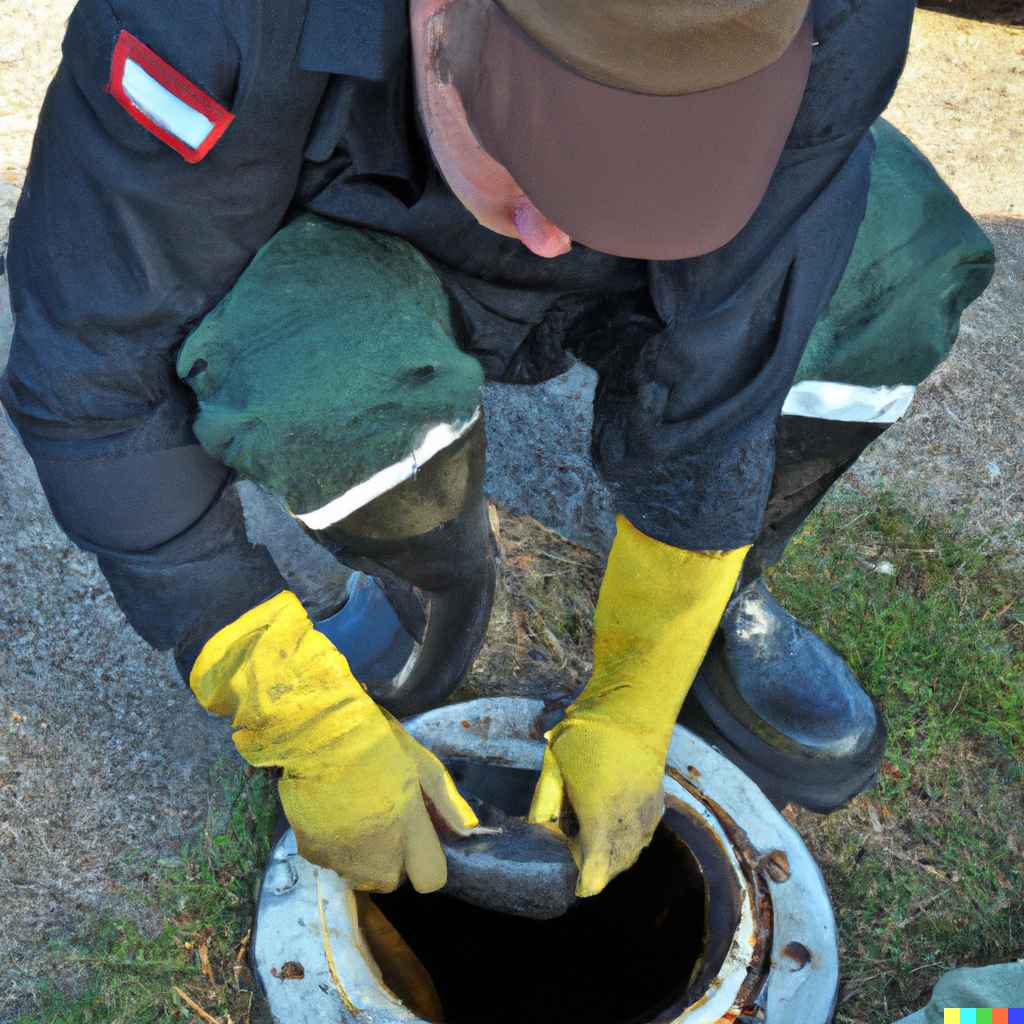
Remove the old pump from the sump pit when disconnecting the discharge pipe. Be careful not to damage the new pump’s column, discharge pipe, or electrical cords.
If the old pump is fastened to the column with bolts, use a socket or adjustable wrench to detach them. Alternatively, if it’s connected with screws or clips, use a screwdriver or pliers to disengage them. With the old pump removed, you can now install the new one. If you know how to remove a pedestal sump pump, you have done half the work.
Also, read the complete guide on Pedestal Pump Switch Replacement here.
Clean the Sump Pit:
After you’ve successfully removed that old, obsolete pump, it’s time to give the sump pit a good cleansing. Use a wet/dry vacuum or bucket and sponge to eliminate any unwanted sediment, debris, or moisture that may have accumulated there.

Once that’s done, thoroughly inspect the pit for any cracks or damage. If necessary, proceed to mend them as needed. In severe cases where the hole is beyond repair, you may need to replace it entirely with a new one.
You can also read the complete process of cleaning a Pedestal Sump Pump here.
Install New Pump:
Now that the sump pit is all clean and repaired, we can install the new pedestal sump pump. First, position the pump inside the hole on a stable surface. Follow the manufacturer’s instructions to secure the pump in place.
Next, establish electrical connections by attaching wires or cords to the pump according to their guidelines. Be sure these are correctly configured to avoid any potential electrical hazards.
Test the New Pump:
You need to test the new pump before proceeding with the installation. Re-activate the power supply and pour water into the sump pit. Keep a close eye on how well it functions – you want to ensure everything is operating smoothly and that water is discharged quickly through the discharge pipe. If there are any problems, troubleshoot them to avoid more significant issues later.
Seal Discharge Pipe:
Make sure to test the pump before sealing the discharge pipe. This will prevent any water damage from occurring if there are leaks. Use silicone sealant or plumber’s tape around the joint to create a watertight seal, and then test it by pouring water into the sump pit.
Be vigilant in observing the discharge pipe for any leaks which could cause significant problems.
Reconnect Power:
Now that the discharge pipe is sealed and evaluated, it’s time to turn the power back on to the new pump. Once you activate it, do a careful inspection to ensure everything works correctly, and the water is expelled through the discharge pipe as planned.
If everything looks good and the pump performs up to expectations, consider this installation procedure complete!
Conclusion:
Have you learned how to replace a pedestal sump pump through our guide? Replacing a pedestal sump pump is crucial to maintaining the safety and functionality of your home’s drainage system.
And by following the steps outlined in this guide, you can confidently replace your pedestal sump pump – ensuring that your home stays protected from potential flooding. So thanks for taking the time to read this guide. And don’t hesitate to revisit our website for all your future sump pump needs!

