If you are wondering how to install a sump pump check valve, you are at the right place. In this blog post, you will find a stepwise process, and you will be surprised after reading this article and will think how easy it is. A sump pump check valve is an essential component of the sump pump system that ensures the smooth operation of your sump pump.
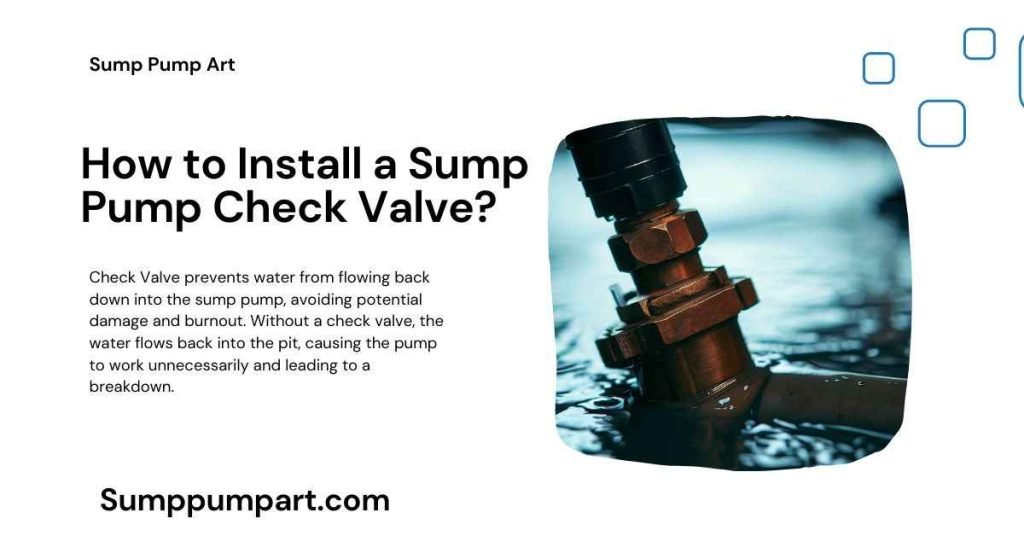
This essential device prevents water from flowing back down into the sump pump, avoiding potential damage and burnout. Without a check valve, the water flows back into the pit, causing the pump to work unnecessarily and leading to a breakdown.
This comprehensive guide will walk you through the step-by-step process of installing a sump pump check valve. This will make it a seamless and practical addition to your drainage system.
Contents
How to Install a Sump Pump Check Valve?
Tools and Materials Required:
● Sump Pump Check Valve (appropriately sized for your pump)
● PVC pipe with PVC Couplings or Adapters, PVC Nuts
● PVC Cement (if using PVC Pipes)
● Pipe Cutter or Hacksaw
● Pipe Wrench
● Measuring Tape
● Safety Gloves and Goggles

Step 1: Measure and Gather Supplies
First, find the sump pump check valve location, and measure the diameter of your existing drainage pipe. PVC pipes are commonly used for sump pump systems, and you can find the diameter printed on the pipe. If not, a tape measure will help you measure the pipe’s diameter.
Once you have the measurements, it’s time to gather the necessary supplies, which include PVC couplings or adapters, PVC nuts, a pipe cutter or hacksaw, and PVC cement with an applicator. These supplies can be easily found online or at your local hardware store.
Step 2: Selecting the Right Valve
The size of the check valve is crucial for a proper fit. Select a check valve with the same diameter as your drainage pipe using the diameter measurement. Most check valves are typically 1 1/4 to 1 1/2 inches(3.2 to 3.8 cm) in diameter. However, consider the valve features and choose the best suits your needs.
Step 3: Preparing for Installation
Before beginning the installation process, ensure your safety by unplugging the sump pump’s power cord to avoid any electrical accidents. Before proceeding, please wait for the pump to drain any remaining water in its pit. This will reduce the risk of water flowing back into the hole during installation.
Step 4: Cutting and Fitting the Valve
If you’re installing a new valve, cut the drainage pipe at an appropriate spot using a PVC pipe cutter or hacksaw. Take your time and cut gradually to ensure accuracy. If you’re replacing an old valve, carefully detach it from the pipes. Once the pipe is ready, file the edges with 180-grit sandpaper to remove any sharp edges.
Step 5: Assembling the Check Valve
Fit PVC nuts onto each end of the pipes and slide PVC couplers onto them. Position the check valve between the pipes, ensuring that the arrow on the valve points upward. Utilize rubber o-rings for waterproofing. Rotate the couplers clockwise to tighten the connections, then slide the PVC nuts over them to secure the valve in place.
Step 6: Securing the Connections
Spread PVC cement on all sides of the pipes and couplings to ensure a leak-proof installation. This step might require you to take everything apart briefly, but it guarantees a perfect fit. Coat the outside edges of the pipes with cement and the insides of the couplings before putting all the parts back together.
Step 7: Let it Dry and Test
Allow the PVC cement to dry for about 2 hours before testing your newly installed check valve. Place the sump pump back in its pit if you removed it, then pour water into the pit. Plug the pump into an outlet and note the sound of water rushing through the drainage pipe. If the pump doesn’t drain any water back into the pit, your check valve works correctly.
Frequently Asked Questions:
What Height to Install the Check Valve on the Sump Pump?
The Best height for the check valve is two to three feet above the sump pump pit. At this height, your sump pump will work well as compared to a lower position. The check valve will open easier because of the small weight of water above it.
Can a Sump Pump Check Valve be Installed Horizontally?
The installation of the check valve depends on the application. The check valve of the sump pump works horizontally and blocks water flow in a horizontal position. Manufacturers of check valves also prescribe it to be installed in a horizontal position.
Final Thoughts:
By installing a sump pump check valve, you have taken a crucial step in maintaining the efficiency and reliability of your sump pump system. The check valve stops water from flowing back into the pit, prevents pump damage, and reduces the risk of basement flooding.
Remember to check the check valve periodically for any signs of damage and replace it on time if necessary. With this simple yet effective addition, your sump pump will work at its best, offering you peace of mind during heavy rainfall and potential water intrusion events.
Now you are ready to check your check valve properly. If you still have a problem with the installation, you can comment. We will answer you as soon as possible. We always care for our readers and solve their queries related to sump pumps.

