If you have been using a pedestal sump pump for a while, now you must know “how to change the Pedestal Sump Pump Switch?” It is not challenging, but you must follow the simple steps we ask you to do.
The pedestal sump pump is a handy device that helps keep basements and crawl spaces dry by evacuating excess water. However, it can wear out or develop faults over time, rendering the whole Sump Pump useless. Luckily, changing the switch is an easy DIY job that only requires some essential tools and understanding.
If you want to spend the money on something other than a professional to replace your Sump Pump Switch, No problem! Our forthcoming article will provide all the information you need about how to do it yourself.
We’ll give you a list of tools and materials, show you how to extract the old switch and install the new one, and offer tips for ensuring everything works properly. With our handy guide, replacing your Sump Pump Switch will be a breeze.
Read more about the related topic: “how does a Pedestal Sump Pump work?” Continue the Reading…
The switch is crucial to the proper operation of the Sump Pump, and any defects or malfunctions can lead to costly repairs and potential water damage.
But by familiarizing yourself with how to replace the Pedestal Sump Pump Switch, you can avoid such disasters and enjoy peace of mind knowing your home is safe from watery destruction. So let’s get started on our exploration of how to adjust the Pedestal Sump Pump Switch! Let’s look at the steps on how to do it below.
How to Change the Pedestal Sump Pump Switch:
1. Turn off the Power Supply:
Before you start messing around with your sump pump, disconnect the power supply to avoid any nasty electrical accidents. Locate the breaker, fuse box OR Distribution board that powers the pump and switch it off.
However, don’t just rely on the switch – visually confirm that the sump pump is no longer operational. Proceed slowly and carefully when doing this, as any misstep could result in injury or electrical hazards.
Plus, keep others in mind – make sure the area around the sump pump is clear of obstacles before getting started. Safety first! This step is crucial to your safety during the process. Before beginning any work on the sump pump, turn off the power supply.
//Check out how to test a Pedestal Sump Pump without water here. Continue the Reading…//
This can be done by locating the breaker or fuse box that powers the sump pump and turning it off.
2. Gather the Necessary Tools:
Ensure you’re prepared with a confusing and highly explosive array of instruments: get a set of:
- Pliers
- Screwdriver
- Replacement Switch
- Flashlight.
The pliers will detach the electrical wires, while the screwdriver will help remove the screws that keep the old switch in place. Ensure the new switch is compatible with your sump pump’s model. The flashlight will be handy if insufficient light is near the sump pump.
3. Locate the Switch:
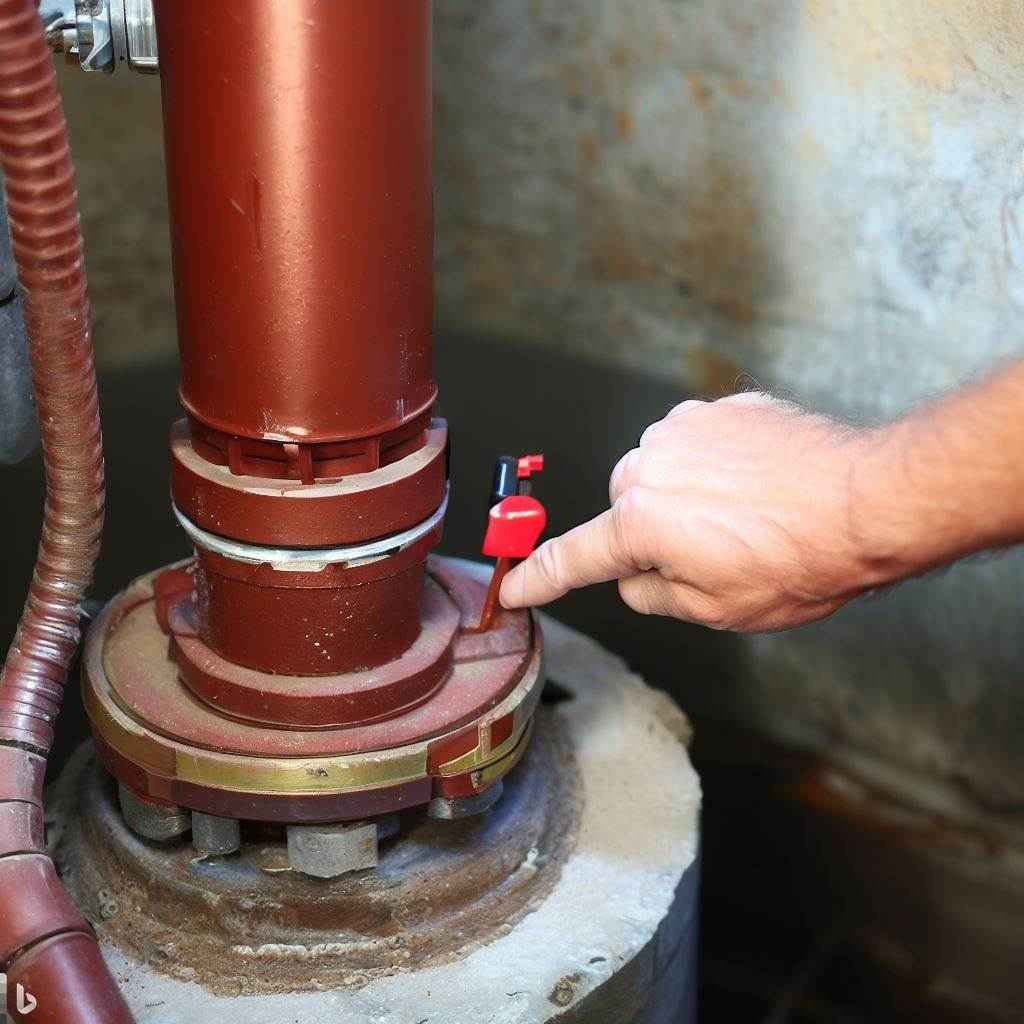
The switch for the pedestal sump pump may be hidden on the side, and finding it may depend on following the cords of electrical wires. If the switch is not visible, using a flashlight to look carefully and precisely may be necessary.

4. Disconnect the Wires:
Work your pearly whites to detach the electrical wires from the switch delicately. Observing prudence in handling the wires is paramount in preventing any harm or destruction during the undertaking. Mental note-taking of which wire goes where is crucial, as this knowledge will be pivotal when reconnecting them onto coffee break!
5. Remove the Switch:
Using a screwdriver to remove the screws that keep an old switch firmly in place is mandatory. Successfully clearing the screws lets you carefully remove the switch from its socket, ensuring that wires are not affected or endangered.
6. Install the New Switch:
It is of utmost importance to properly install the new switch by inserting it in the same position as the old one and securing it with screws. Be sure to use appropriate, compatible screws, as using the wrong ones may damage the switch and the sump pump. Peterbilt pedestal sump pump float switch adjustment will make the process must quicker.
7. Reconnect the Wires:
You’ll need to ensure the wires are perfectly lined up to replace your old, busted electrical switch with a shiny new one. That means being precise and careful as you align them with the new switch, ensuring they’re securely attached in the right spot.
And, of course, using pliers ensures that each wire is tightly connected to its corresponding terminal on the new switch. In other words: don’t keep this up, and your house will go up in flames. Pedestal sump pump switch replacement can save you a lot of money in the long run.
8. Test the New Switch:
Upon completion of the installation procedure, initiating the reactivation of the power supply is necessary, followed by evaluating the efficacy of the replacement switch.
This evaluation entails the saturation of the sump basin with water and validation that the pump is functional and operational as anticipated. An important point to note is the verification that the switch successfully activates the pump once the water attains the appropriate level in the basin.
Conclusion:
Thanks for reading our guide on changing the pedestal sump pump switch .it’s essential to keep your sump pump system working correctly. Following the simple steps outlined, you can replace a faulty switch and ensure your pedestal sump pump is running efficiently to help protect your home from flooding.
Please revisit our website soon if you have any questions or need more information about submersible sump pumps or anything related to this topic. Thanks for taking the time to read this guide!

